If your coding projects are spread across random folders, sticky notes, and mental checklists, you’re not alone. Many developers start strong on a new app or feature—then lose track of tasks, forget key details, and waste time retracing their steps.
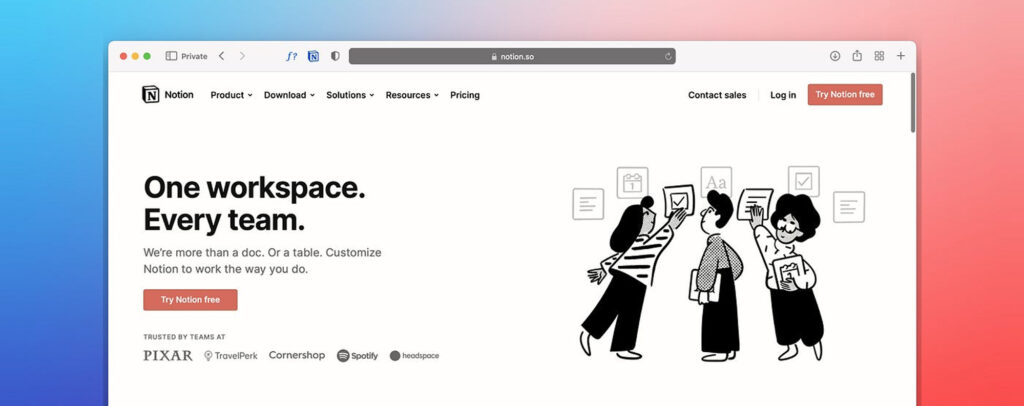
You don’t need a complex system. You just need one place to organize your work clearly. That’s where Notion comes in.
Notion isn’t just for note-taking. It can be a full-on dev dashboard—tracking tasks, documenting code, managing bugs, and keeping your projects from turning into chaos. This post shows how to organize your coding projects using Notion in a way that actually helps you finish more and stress less.
The Problem: Dev Projects Are Messy Without a System
Most devs struggle with at least one of these:
-
“I forget what I was working on last week.”
-
“I lose track of bugs or features I meant to add.”
-
“Client projects are all mixed together.”
-
“I don’t have one place where all the context lives.”
Whether you’re working solo, freelancing, or building side projects, you need some structure—but not one that takes more time to maintain than it saves.
Why Notion Works for Developers
Notion hits a sweet spot. It’s simple enough to set up in minutes, but flexible enough to scale with your projects. Unlike Jira or Trello, it’s not locked into one workflow. You can make it as lean or as detailed as you want.
Key strengths:
-
Easy database filtering and sorting
-
Built-in markdown editor
-
Fast linking between pages (great for documenting APIs or modules)
-
Clean UI that doesn’t get in your way
Step 1: Set Up a Dashboard for Each Project
Start with one Project Page per app, site, or client. Inside that page, you’ll have all the pieces:
-
Task tracker
-
Docs
-
Code snippets
-
Links to repos or live sites
This keeps everything in one place, so you’re not flipping between tabs or hunting for old files.
Structure example:
-
📝 Overview
-
✅ Task Tracker
-
🐞 Bug List
-
📦 Deployment Notes
-
🔌 API Reference
-
🧠 Ideas / Backlog
You don’t need to use all of them. Start small and add as you go.
Step 2: Create a Simple Task Tracker
Notion’s database feature lets you build a mini Kanban board or checklist to track your work.
Minimum columns to include:
-
Task Name
-
Status (To Do, In Progress, Done)
-
Priority
-
Assigned To (if you’re working in a small team)
-
Due Date (optional)
You can use the Board view for a Trello-style setup or a Table view for a cleaner list.
Pro tip: Add a “Context” column to group tasks by feature or component (e.g., “Auth”, “Dashboard”, “Stripe integration”). This helps when your project grows.
Step 3: Track Bugs Separately from Features
Don’t mix bug fixes with new features—it gets messy fast. Create a second database or table on the same page for bugs.
Bug tracker fields to include:
-
Bug title
-
Steps to reproduce
-
Status
-
Priority
-
Fix confirmed? (Checkbox)
This lets you stay focused without bouncing between feature planning and problem-solving.
Step 4: Use Pages for Documentation
Most devs skip documenting their own code until it’s too late. Notion makes it easier to capture decisions and explain logic while it’s fresh in your mind.
What to document:
-
Setup instructions (great for onboarding teammates or clients)
-
Database schema and relationships
-
Key modules or functions and what they do
-
API endpoints and sample requests
-
Third-party services and credentials (never include actual API keys—just notes on setup)
Keep each topic as a separate Notion page and link them in the sidebar or the project dashboard.
Step 5: Save Snippets and Fixes
Ever solved a bug after 2 hours of Stack Overflow and swore you’d save the solution—then forgot it? Use a Notion “Snippets” page for reusable code blocks and tricky fixes.
Organize them by tag or topic (e.g., “React”, “Postgres”, “Regex”, “Linux commands”).
Each snippet page can include:
-
Code block
-
Short explanation
-
Link to related issue or task
-
Optional: a “last used” date
Over time, this becomes your personal cheat sheet.
Step 6: Link to Repos, Deployments, and Staging
Keep your workflow tight by adding links at the top of your project dashboard:
-
GitHub repo
-
CI/CD dashboard
-
Staging site
-
Production site
This makes it easy to switch contexts quickly without searching bookmarks or Slack threads.
Step 7: Templates Save You Time Later
Once you’ve built one good Notion project setup, save it as a template. That way you can duplicate it every time you start something new.
If you’re a freelancer, make a version tailored for client work. Include:
-
Contract checklist
-
Client notes
-
Timeline tracker
-
Invoice log
You’ll look more professional—and work more efficiently.
Common Mistakes to Avoid
-
Overcomplicating the system. Don’t add more pages than you need. Simplicity beats bells and whistles.
-
Not reviewing your tasks daily. Even the best tracker is useless if you never look at it.
-
Not backing up. Notion is reliable, but exporting key docs once a month is a smart habit.
Final Tip: Review Weekly
Once a week, take 10 minutes to review your Notion setup:
-
Mark off completed tasks
-
Move bugs that are fixed
-
Archive anything that’s done
-
Write down any new ideas you’ve been sitting on
This small routine keeps your projects sharp and your mind clear.
Conclusion
Organizing your coding projects using Notion won’t make you code faster—but it will help you finish what you start, avoid mental clutter, and stay focused on what matters. You’ll spend less time searching, switching, and guessing—and more time building.
Next time you start a new app or client project, don’t wing it. Build a simple Notion workspace, and let it keep you on track.